Frame building
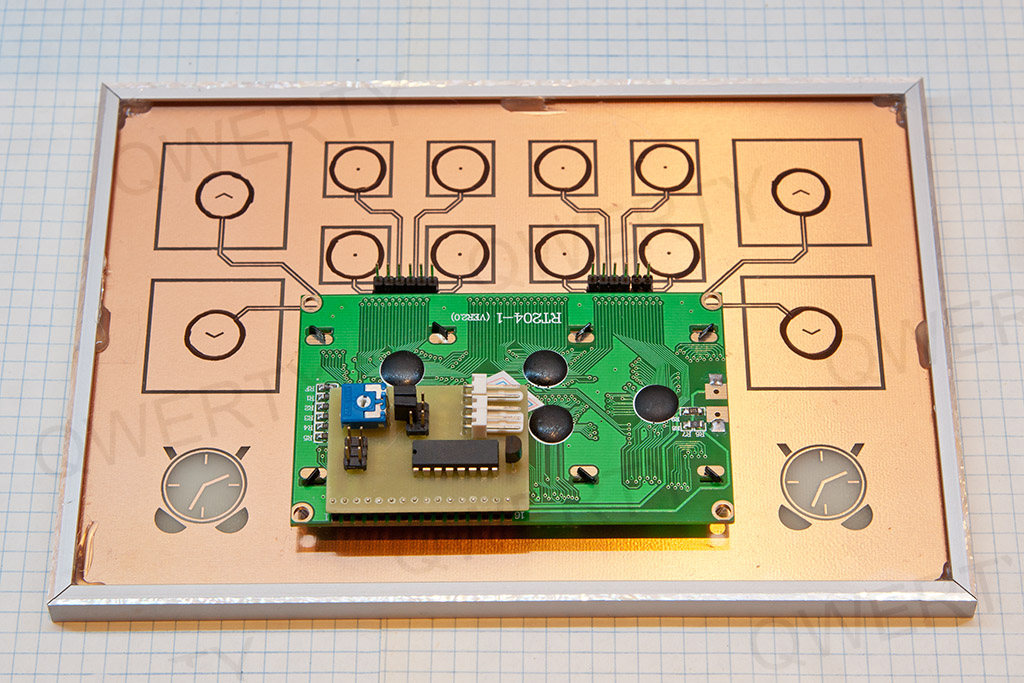
The touch panel PCB is pretty ugly to be a visible interface itself. I made aluminium frame that has two basic functions – aesthetic element and an aid to hold all layers firmly closely together. There cannot be any gap between layers otherwise the capacitive touch sensing is degraded.
It is quite impossible here to buy aluminium profile I wanted (reasonable amount for reasonable price) – U profile, 6 mm x 6 mm x 6 mm, so I bought E profile and tuned it. Resulting profile is 6 mm x 8 mm x 6 mm – two millimeters higher then planned. I am considering to hollow out the wooden shelf a little more to imbed the panel couple of millimeters deeper…
Warning: If you are not skilled in metalworking, don’t try this at home.
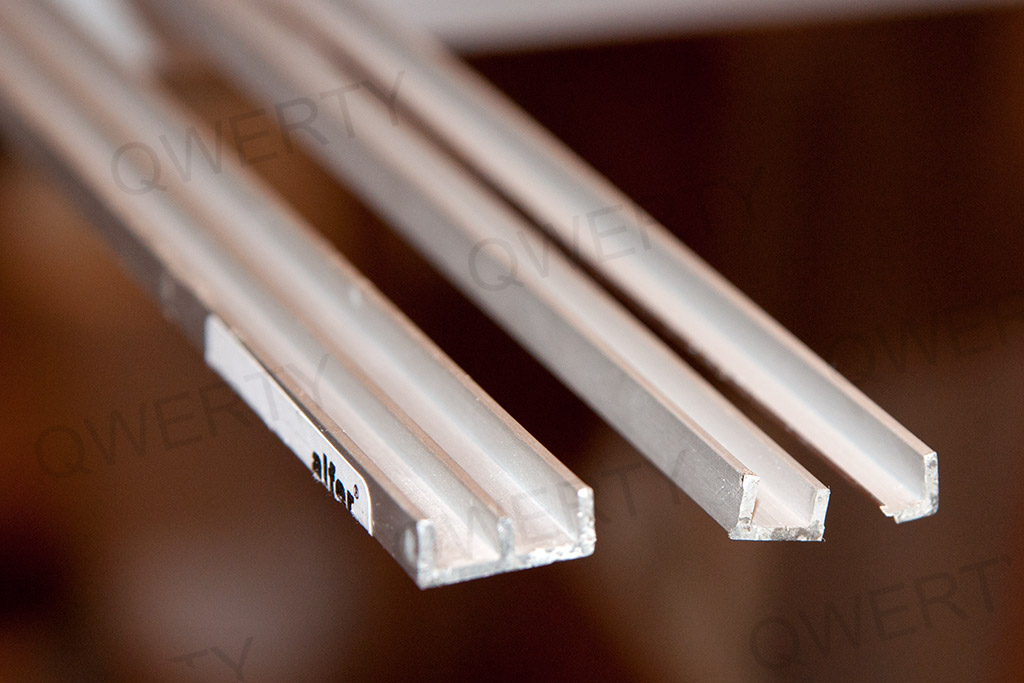 |
Step 1. Original spare E profile on left. Spit E profile into U profile and waste. |
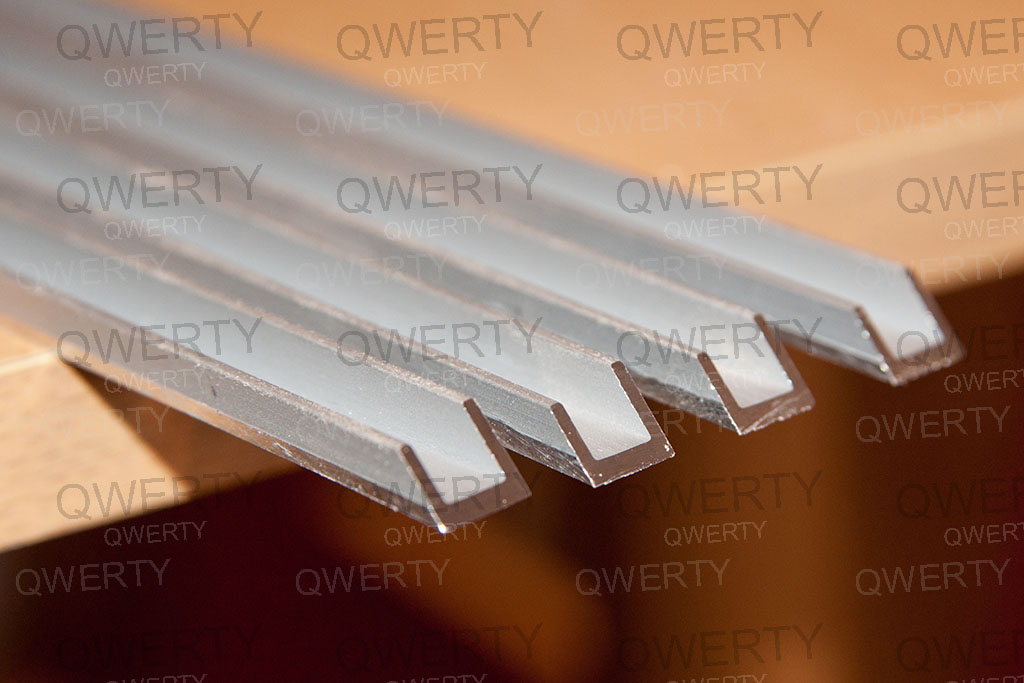 |
Step 2. Four pieces to make up the frame. |
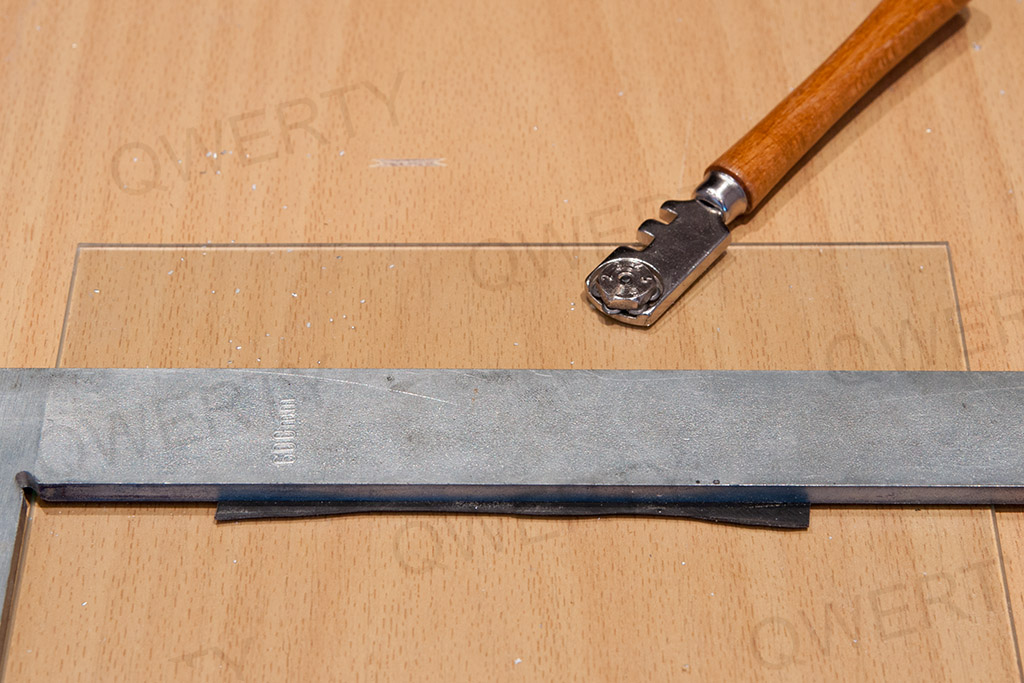 |
Step 3. Regular glass, 2 mm thick. Ready to cut. Used material has impact on capacitive touch sensing because of it’s dielectric constant and thickness. I tried acrylic glass as well, other thickness as well. I am happy with 2 mm glass. |
 |
Step 4. Final glass layer to protect underlying one from scratches. |
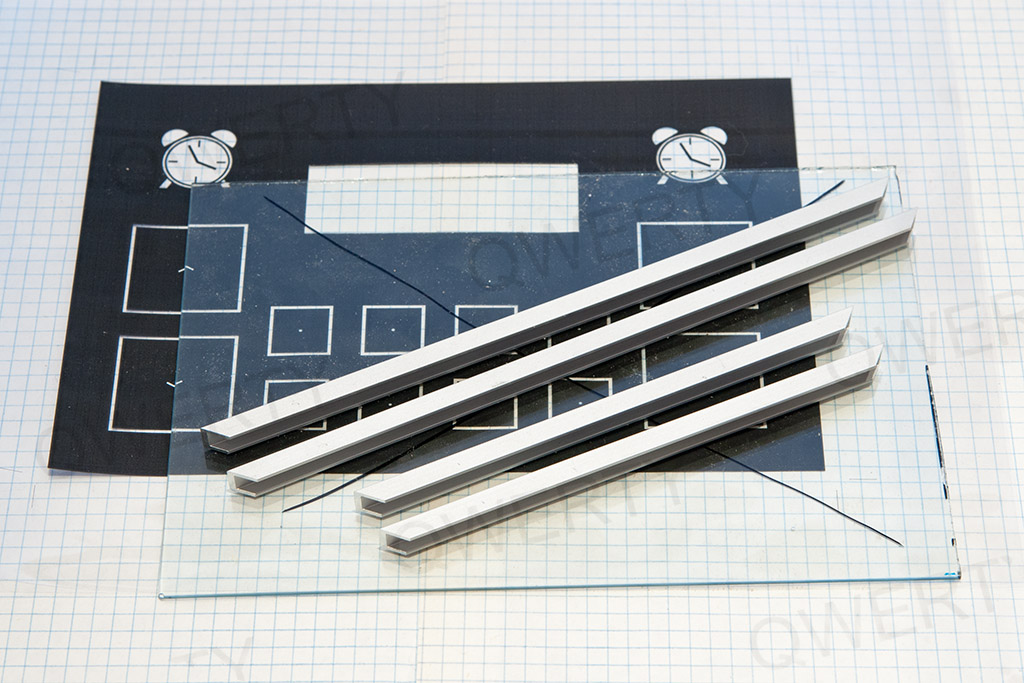 |
Step 5. All parts are prepared. You can see black mask printed on transparency film. Needed to get sharp backlighted shapes. With cut hole for display to prevent unnecessary reflections. Film is protected by glass layer from previous step. |
 |
Step 6. All frame parts sticked together using hot glue gun. |
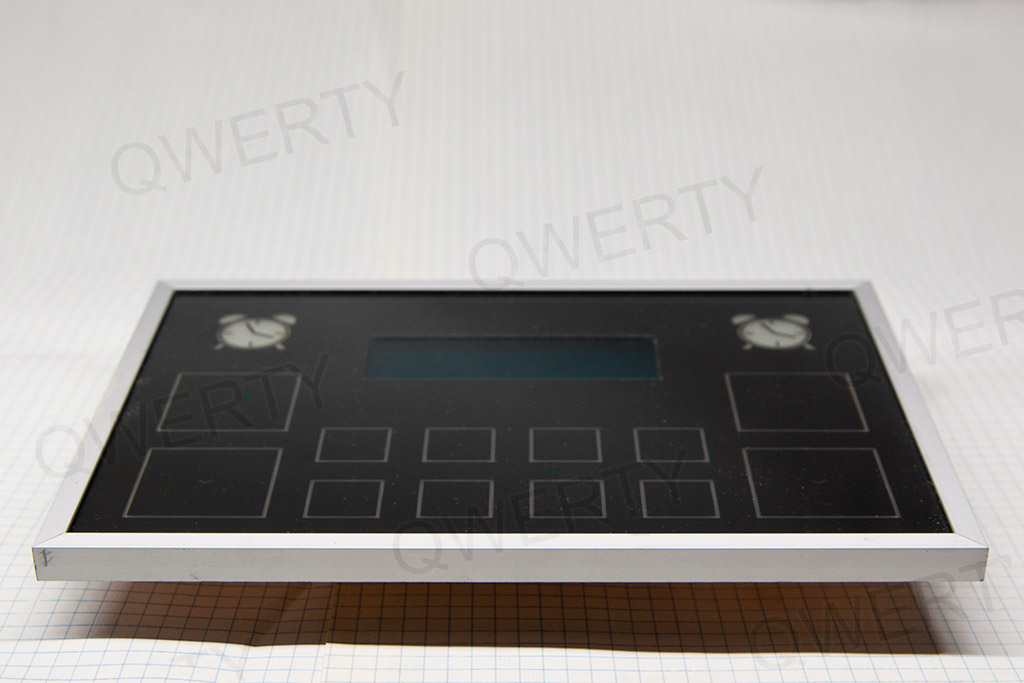 |
Step 7. Final panel is 8 mm high. |
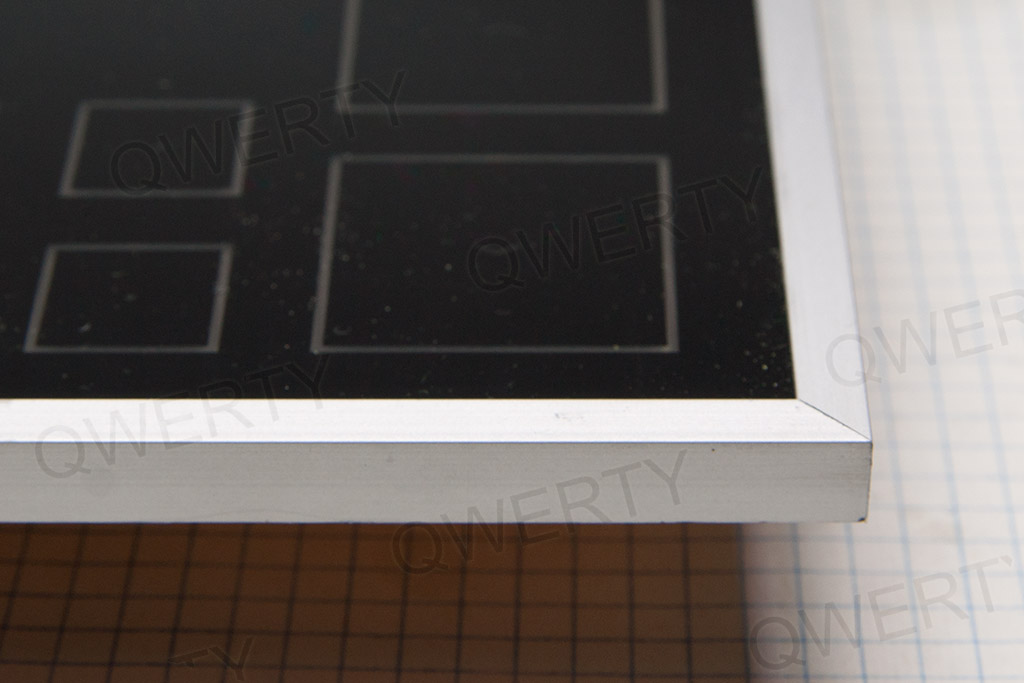 |
Step 8. When cutting the profiles, be precise, otherwise you get ugly looking corner joints. |
 |
Step 9. Finished touch panel in it’s frame. |
Page 1 – Introduction
Page 2 – Controller board
Page 3 – User interface
Page 4 – User interface, part 2
Page 5 – The case
Page 6 – Frame building
Page 7 – Case modification
Page 8 – Shelf installation
Page 9 – Hello World! video
Page 10 – Observations and conclusion
Recent Comments