The case
As I wrote in the first post, there is no space beside our bed for bedside tables. Only suitable place for installation is the wall behind the headboard. Storage space provided by bedside tables will be substituted by this case – shelf. It will contain the control panel and lights as well.
Warning: If you are not skilled in woodworking, don’t try this at home.
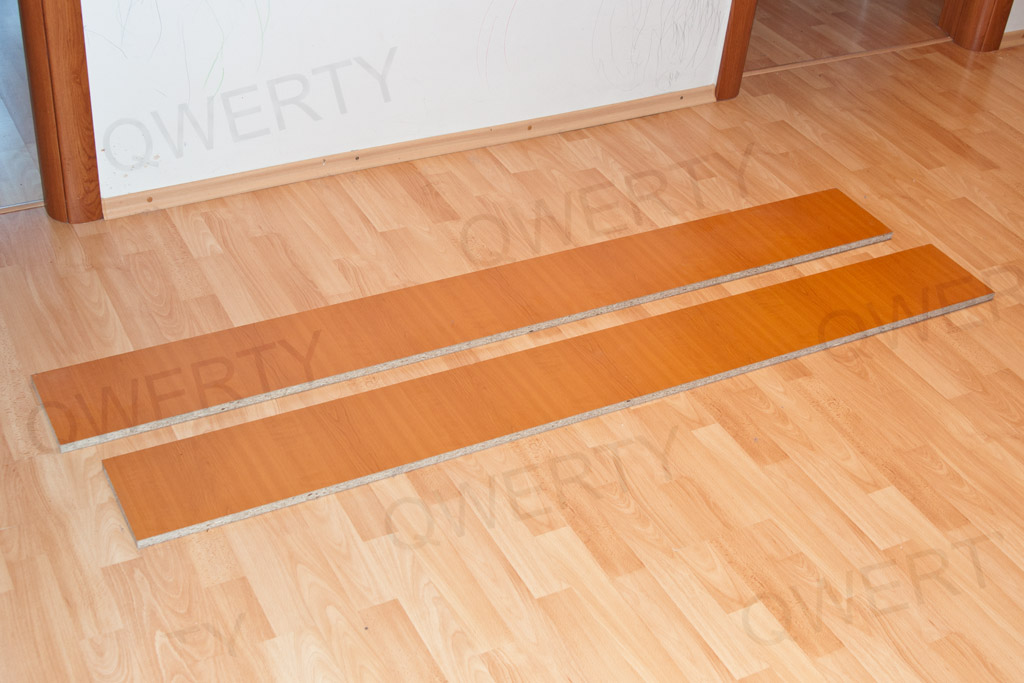 Step 1. Two laminated chip-boards, 180 cm x 20 cm in size, 1.8 mm thick each. |
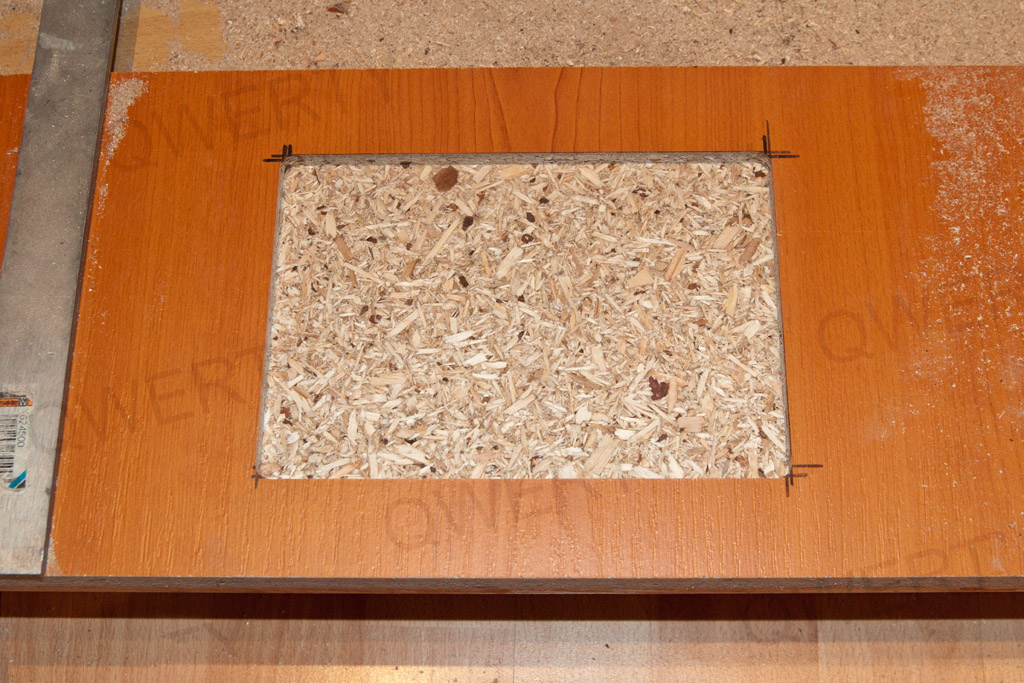
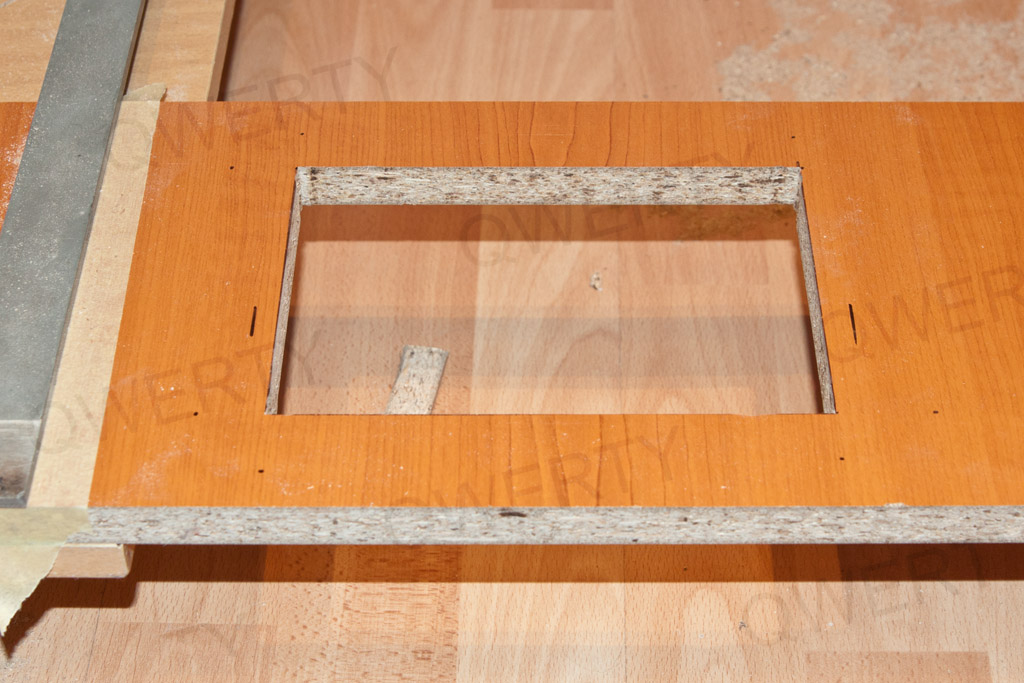 Step 2. Made hole 18 cm x 12 cm to accept the touch panel. Jig saw used. |
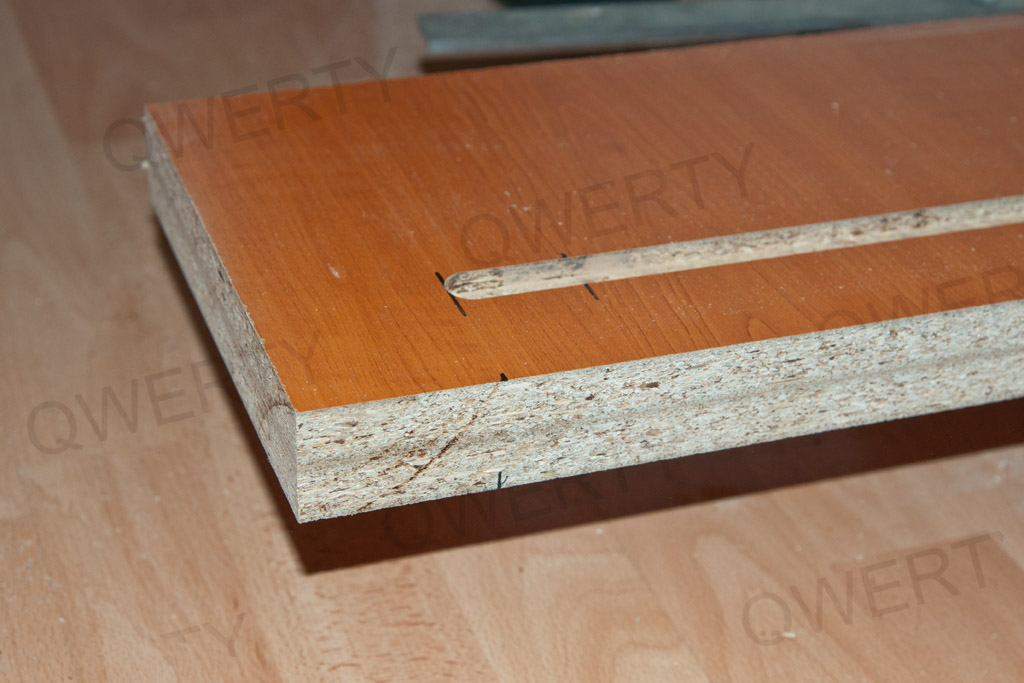
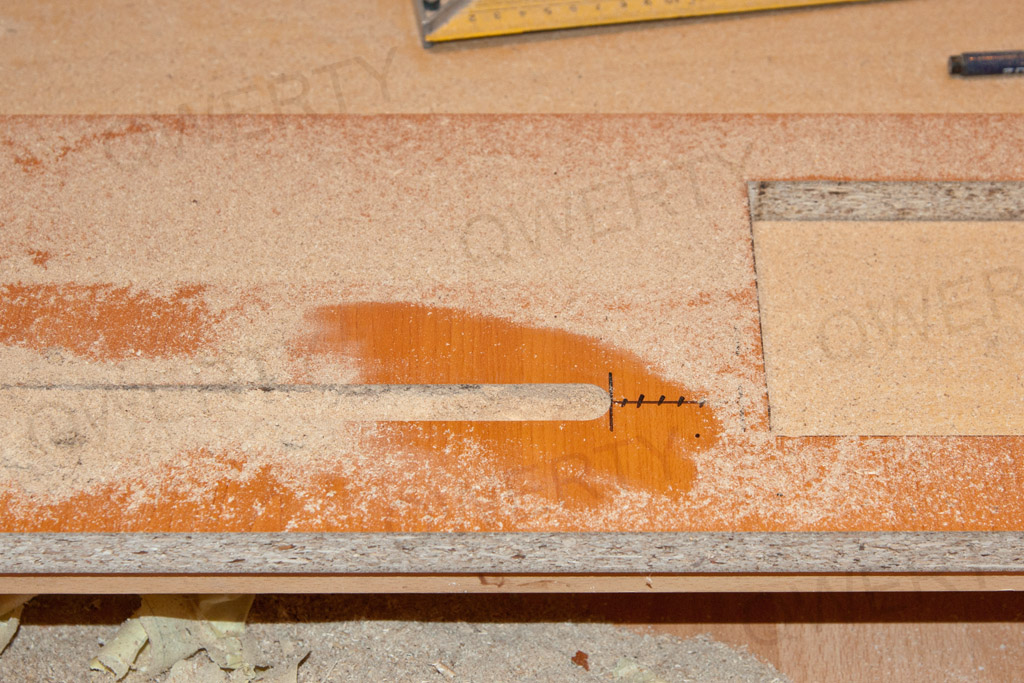 Step 3. Made slots for lights. Plunge router used. |
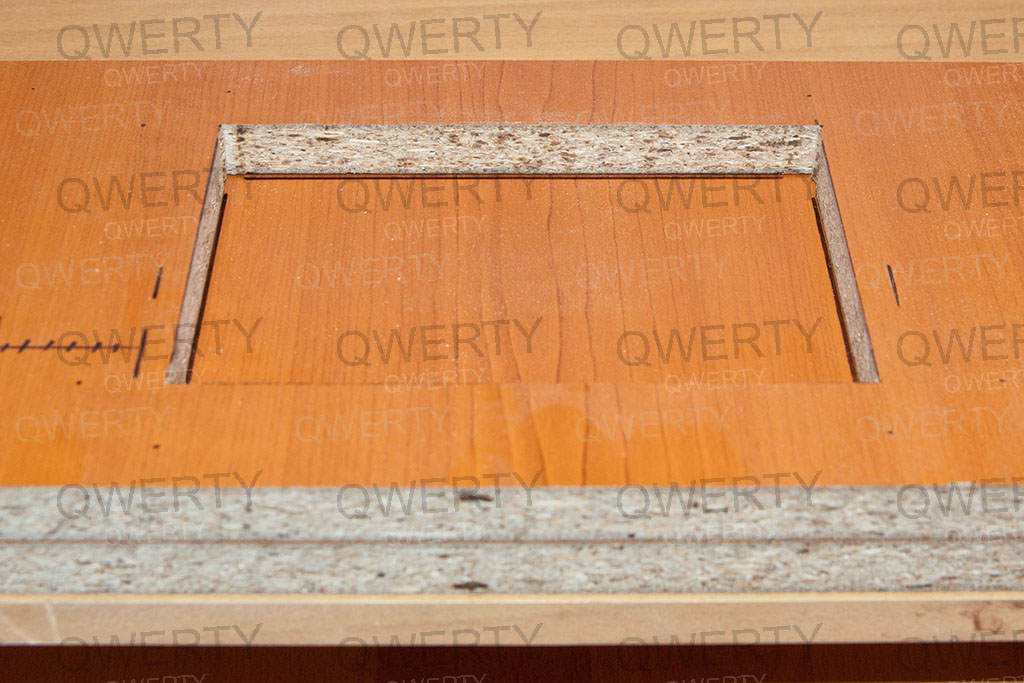 Step 4. Hole outline transferred to the top board. |
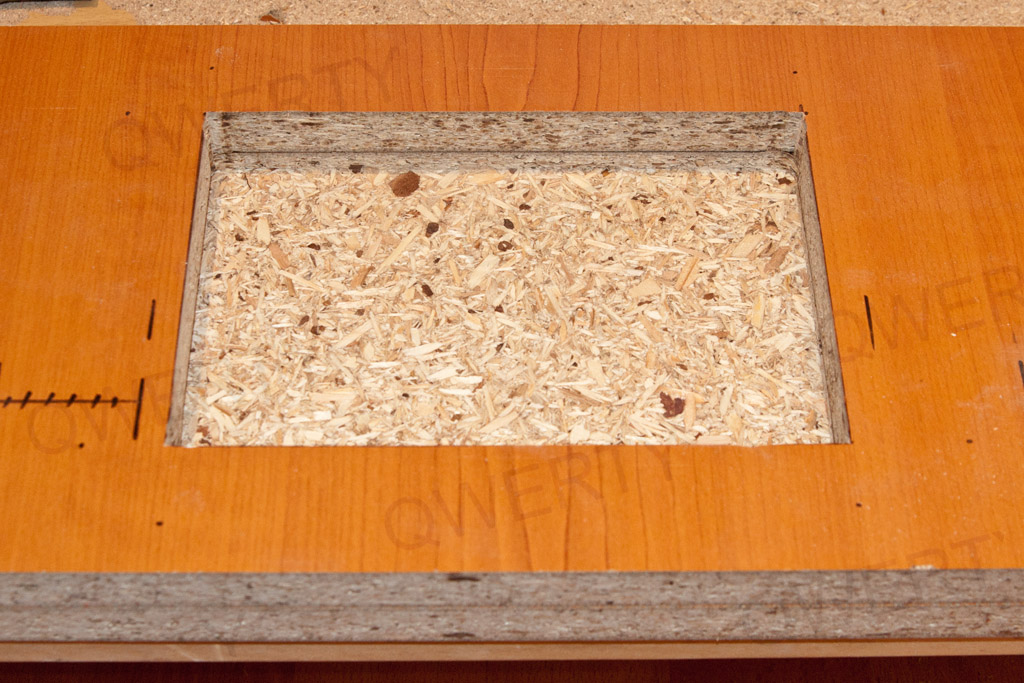
 Step 5. Drawn area hollowed out in top board as the touch panel is 2.5 cm thick. |
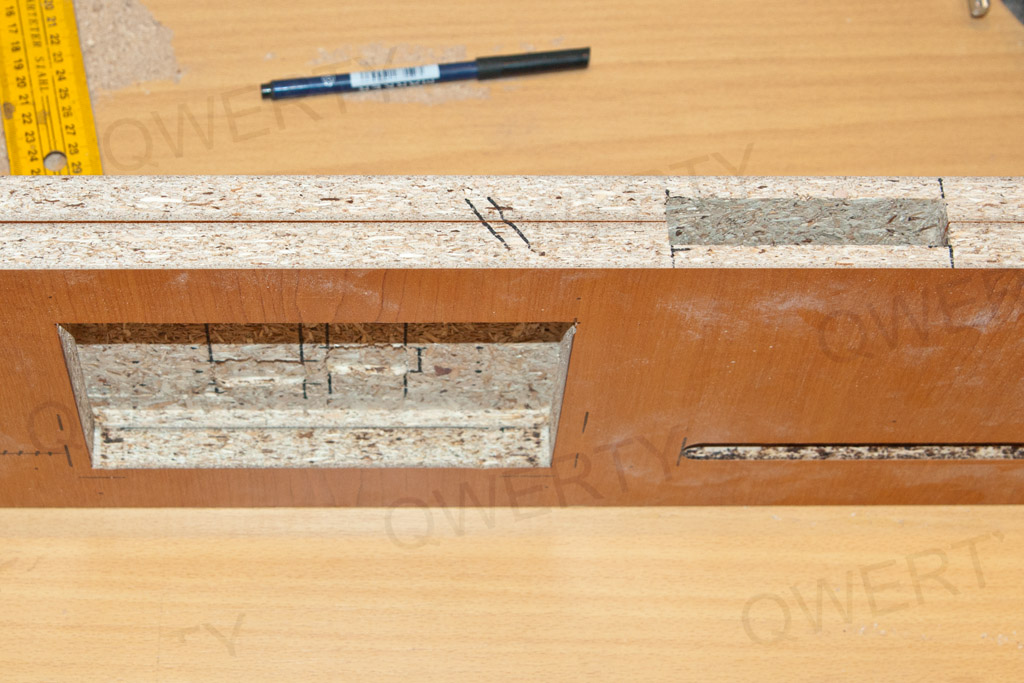
 Step 6. Both boards stacked. |
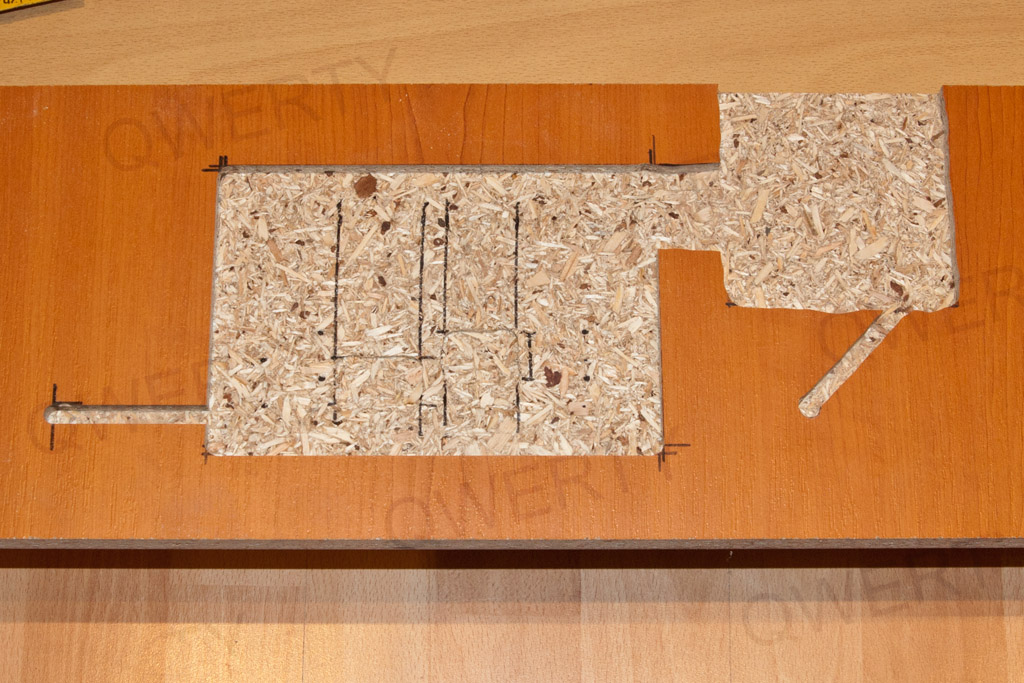 Step 7. Other areas hollowed out for controller PCB and wiring. |
 Step 8. Slot for controller PCB on the right side. |
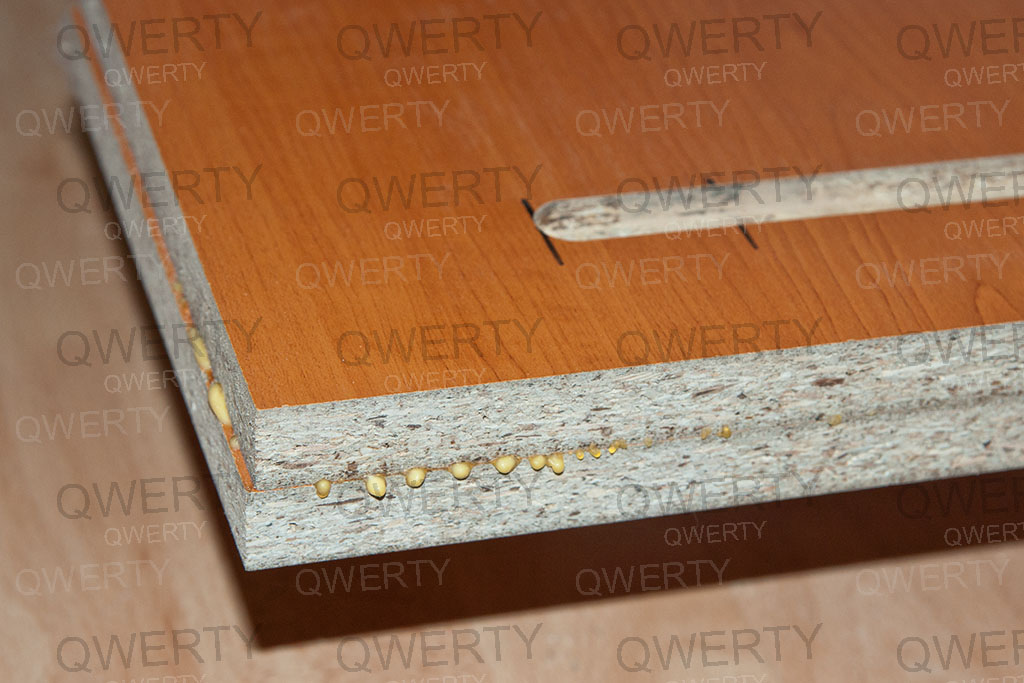 Step 9. Both boards sticked together. |
 Step 10. All four edges aligned by cutting few millimeters. Circular saw used. |
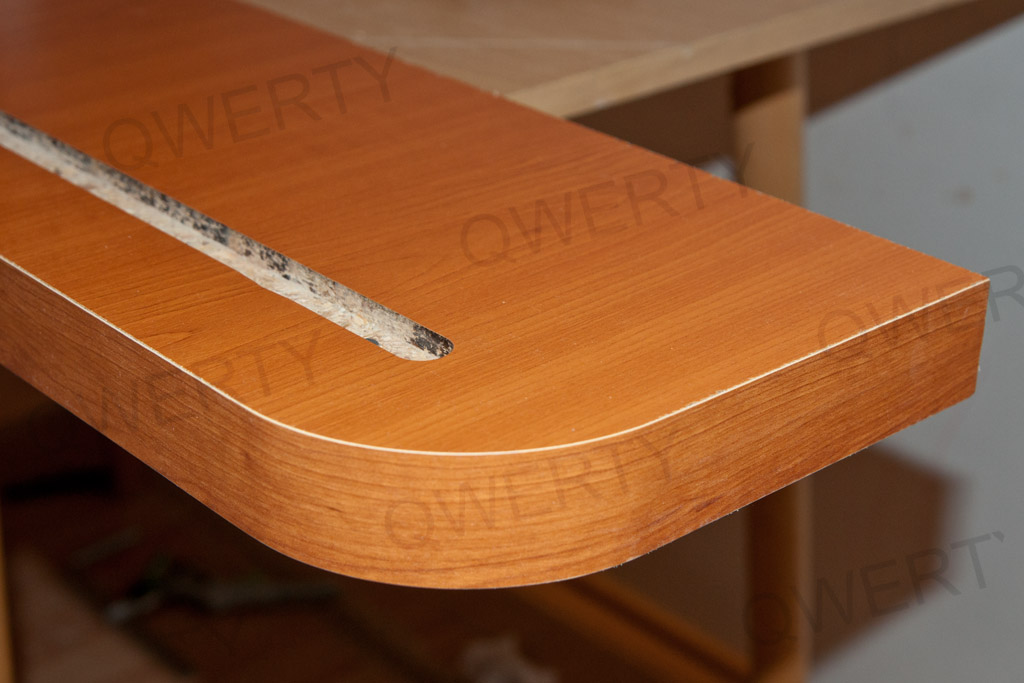
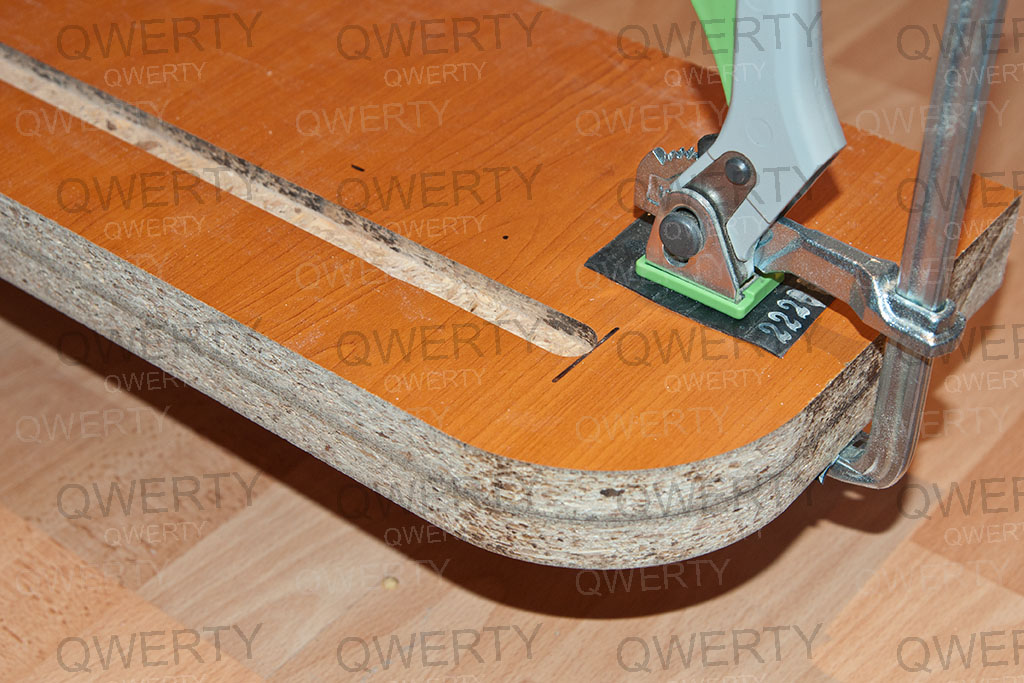 Step 11. Rounded two edges – safety meassure and aesthetic design. |
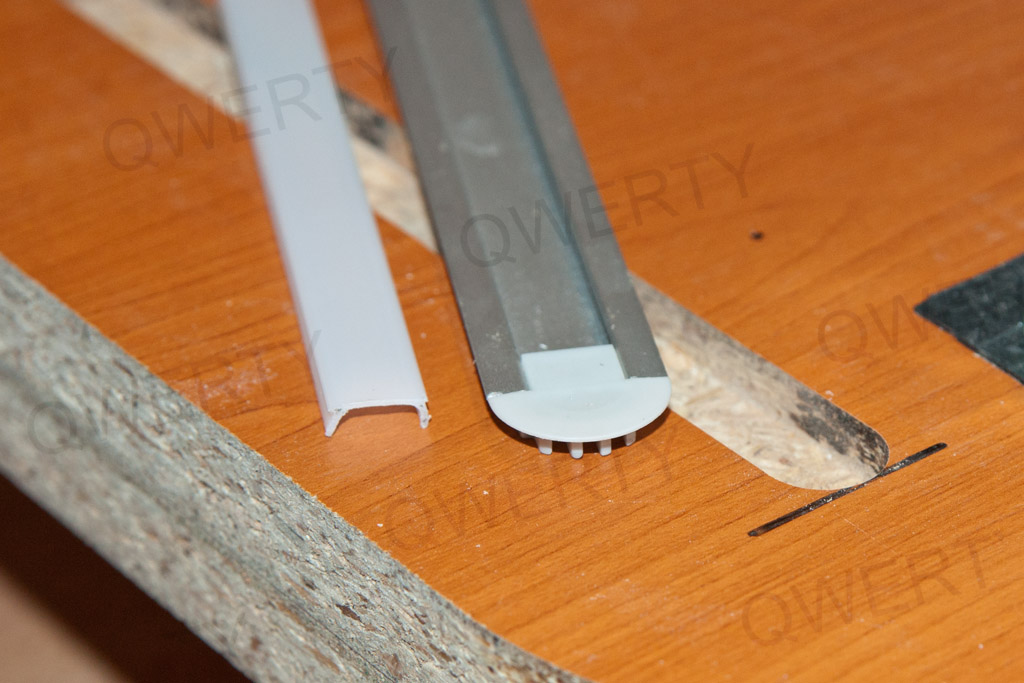 Step 12. Prepared aluminium profiles and plastic diffusers. |
 Step 13. Applied ABS edge. |
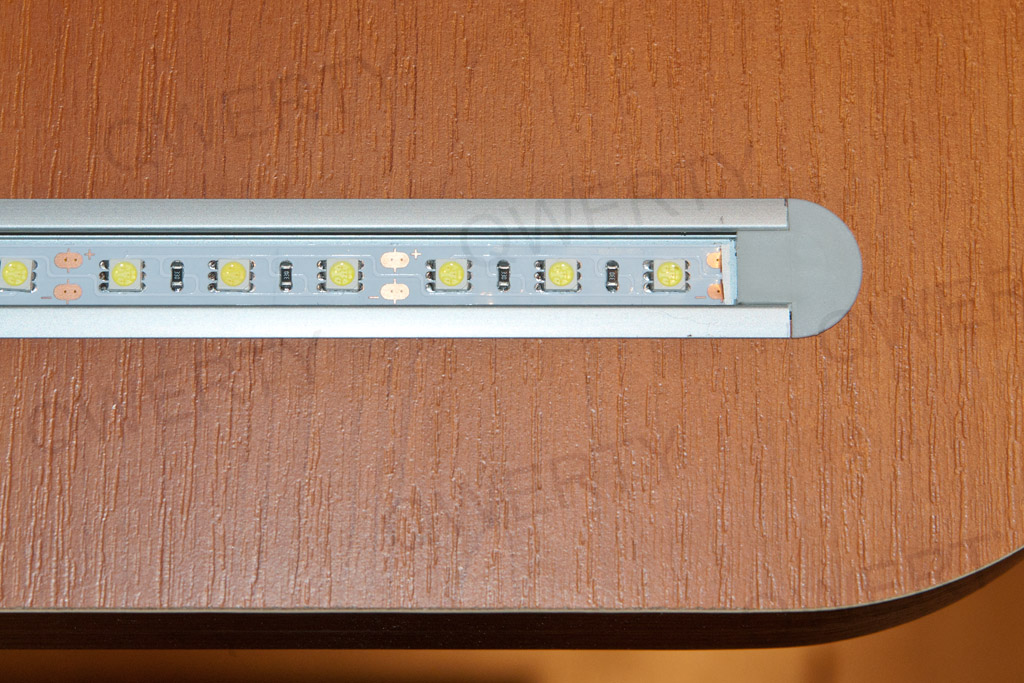 Step 14. Imbeded aluminium profile with sticked LED strip. |
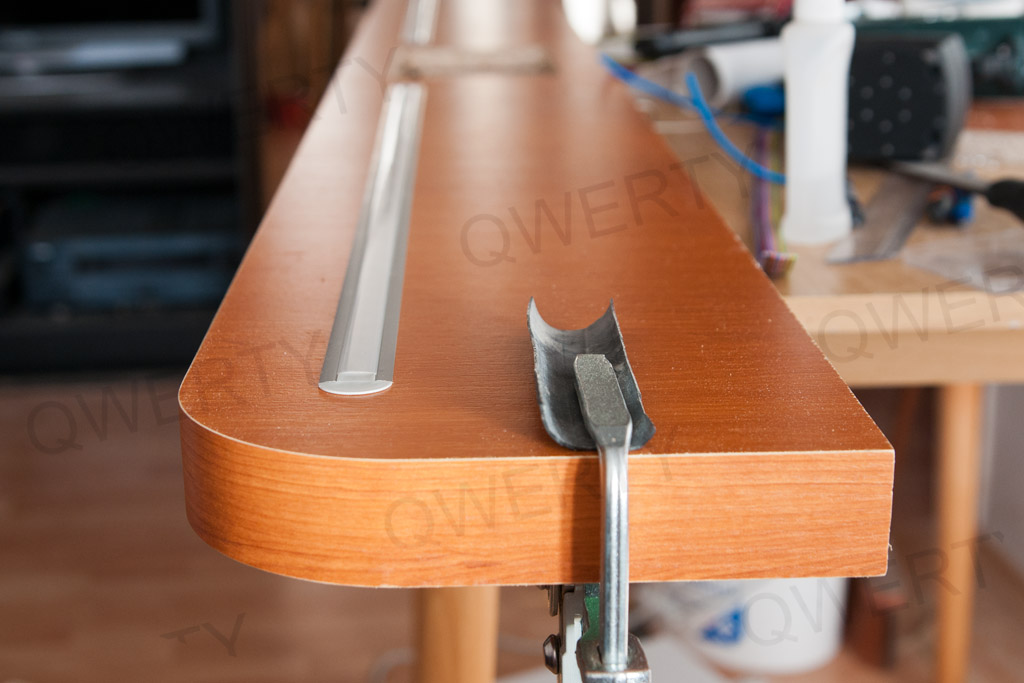 Step 15. Finished case w/o touch panel. |
Page 1 – Introduction
Page 2 – Controller board
Page 3 – User interface
Page 4 – User interface, part 2
Page 5 – The case
Page 6 – Frame building
Page 7 – Case modification
Page 8 – Shelf installation
Page 9 – Hello World! video
Page 10 – Observations and conclusion
Recent Comments